


Understanding DOM(Document Object Model) and its manipulation techniques play a vital role in web development. Recently I have written a diary application where users write and save notes that required some DOM manipulations. So, why not share my experience? Here we go.
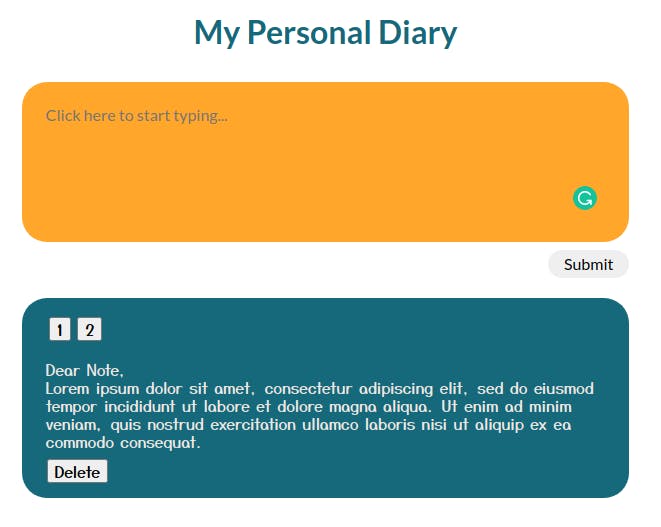
This is what we are going to build today, a personal diary. It lets users write, save, view, and delete notes if they want.
HTML
  <form id="entryForm">
    <textarea class="entry-textbox" placeholder="Click here to start typing..." required></textarea><br />
    <button type="submit" class="button">Submit</button>
  </form>
  <!-- create a new section and give it an id of "entries" -->
  <section id="entries">
    <div class="entries-nav"></div>
  </section>
We have a form to write and save notes, and the section at the bottom will display them.
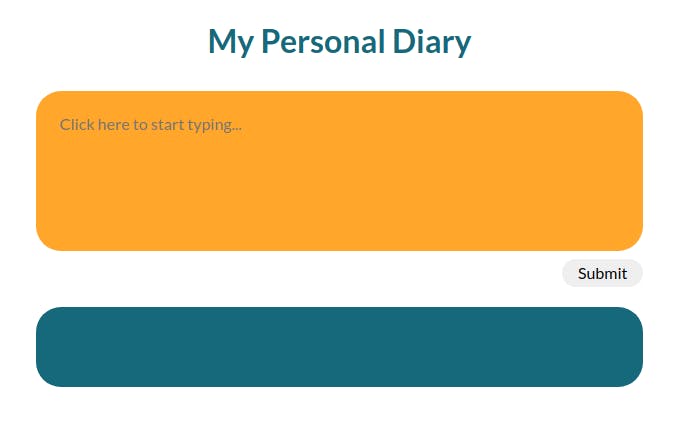
Current state
Save Notes
Let's declare some variables to access the DOM elements easily.
const entryForm = document.getElementById('entryForm')
const entriesSection = document.querySelector('#entries')
const entryTextbox = document.querySelector('.entry-textbox')
let diaryEntires = []
let count = 1
Yes, you are right, entriesSection can also be written using getElementById.
Let's add an EventListener to the form.
entryForm.addEventListener('submit', addEntryToDom)
The purposes of addEntryToDom function are:
- Prevent the form submission.
- Grab the value from the text input and push it to
diaryEntires - Display notes.
function addEntryToDom(event) {
  event.preventDefault()
  diaryEntires.push(entryTextbox.value)
  renderEntry(entryTextbox.value)
  entryTextbox.value = ''
}
Now, let's talk about the function renderEntry. The purposes of this function are:
- Create a
divand insert a note inside it. - Create a
buttonto reveal notes. - Create a delete
button.
Let's write renderEntry function step-by-step.
function renderEntry(entry) {
  /* Create a div */
  const entryDiv = document.createElement('div')
  /* Assign the div a class */
  entryDiv.className = 'single-entry'
  /* Insert note inside the div */
  entryDiv.innerText = entry
  /* Hide the div */
  entryDiv.style.display = 'none'
  /* Insert div inside entries section */
  entriesSection.appendChild(entryDiv)
  ...
}
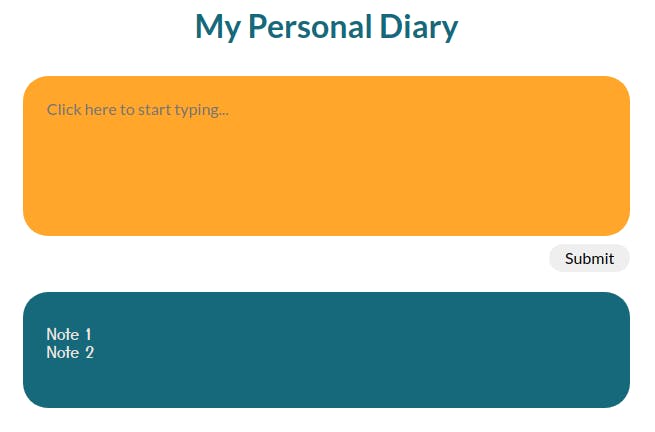
The current state. The problem in this approach is multiple notes stacks on top of each other. It is why we hide notes by default. We will create buttons for notes to reveal them.
function renderEntry(entry) {
  ...
  /* Create a button */
  const displayEntryButton = document.createElement('button')
  displayEntryButton.className = 'display-entry-button'
  /* Increment button text e.g. 1, 2, 3... */
  displayEntryButton.innerText = count++
  entriesNav.appendChild(displayEntryButton)
  ...
}
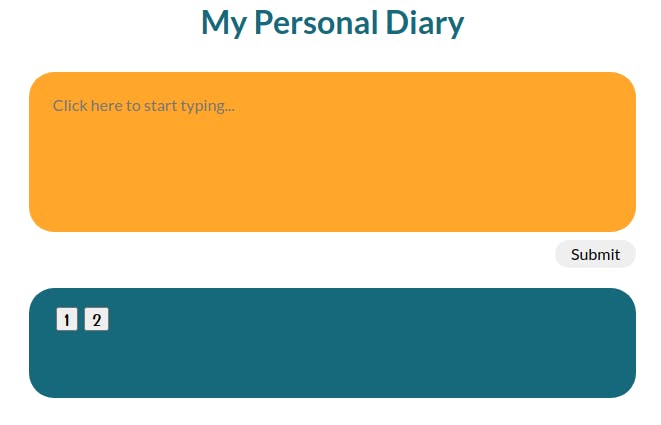
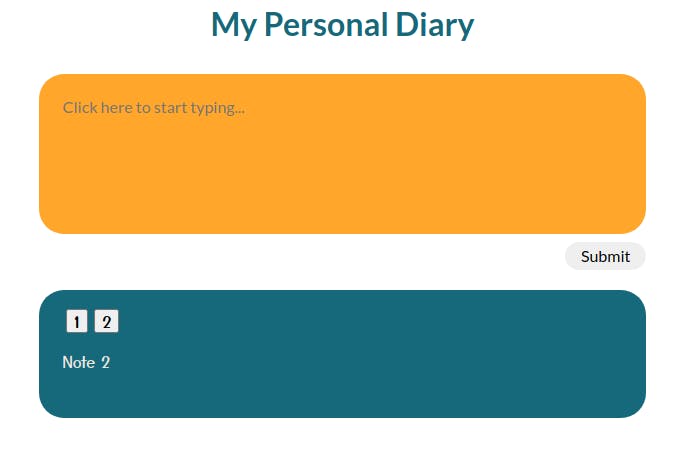
This is the current state. Notes are hidden by default, and there is a button for each.
View Notes
To view notes, we need to make the buttons work. Each button will display a note.
  displayEntryButton.addEventListener('click', function() {
    const allEntries = document.querySelectorAll('.single-entry')
    /* Hide all notes */
    for (let index = 0; index < allEntries.length; index++) {
      allEntries[index].style.display = 'none'
    }
    /* Only display the note for which the button was pressed */
    entryDiv.style.display = 'block'
  })
Buttons are now revealing one note at a time.
Let's delete some notes now. Shall we? Why not?
Delete Notes
Once again, let's create a delete button for each note.
function renderEntry(entry) {
  ...
  const removeButton = document.createElement('button')
  removeButton.className = 'display-delete-button'
  removeButton.innerText = 'Delete'
  entryDiv.appendChild(removeButton)
  ...
}
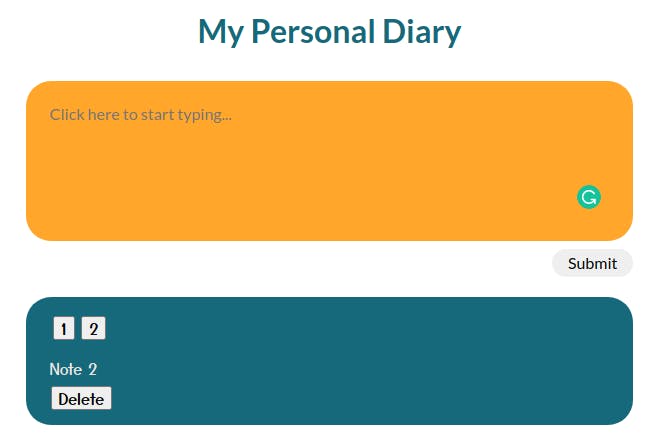
Added delete buttons.
To make delete buttons work, we need to add the following functionalities.
function renderEntry(entry) {
  ...
  removeButton.addEventListener('click', function() {
    /* Remove button that displays note number */
    displayEntryButton.remove()
    /* Remove note */
    entryDiv.remove()
  })
  ...
}
Let's now delete some notes.
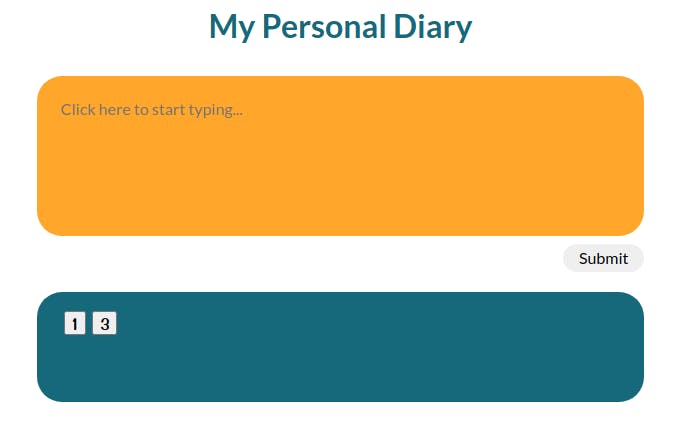
Uh-oh! We have some issues. After deleting the 2nd note we have button
1and3. What happened? We deleted the 2nd button but the 3rd button or buttons after that doesn't know this. Wouldn't it be great if we could re-calculate the button texts after deleting notes? Let's try this now.
Fix buttons
function renderEntry(entry) {
    /* Rename buttons */
    count = 1
    for (let i = 0; i < entriesNav.children.length; i++) {
      entriesNav.children[i].innerText = count++
    }
}
Let's see what happens.
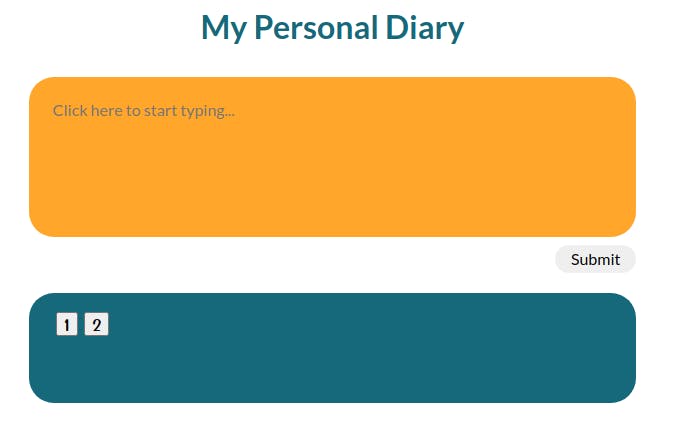
Here we go. It looks good, isn't it?
You can use the app here and see code here .
Thanks :)